CICD之二:GitLab的部署
部署 GitLab 环境 (K8S)
准备镜像
- 在 k8s worker 节点(如 worker233)上下载、导入并推送到 Harbor 仓库。
1
2
3
4
[root@worker233 ~]# wget http://192.168.21.253/Resources/Kubernetes/Project/DevOps/images/oldboyedu-gitlab-ce-v17.5.2.tar.gz
[root@worker233 ~]# docker load -i oldboyedu-gitlab-ce-v17.5.2.tar.gz
[root@worker233 ~]# docker tag gitlab/gitlab-ce:17.5.2-ce.0 harbor250.oldboyedu.com/oldboyedu-devops/gitlab-ce:17.5.2-ce.0
[root@worker233 ~]# docker push harbor250.oldboyedu.com/oldboyedu-devops/gitlab-ce:17.5.2-ce.0创建 NFS 共享目录 (用于数据持久化)
1
[root@master231 ~]# mkdir -pv /yinzhengjie/data/nfs-server/case-demo/gitlab/{data,logs,conf}
编写资源清单 (Deployment & Service)
01-deploy-svc-gitlab.yaml1
2
3
4
5
6
7
8
9
10
11
12
13
14
15
16
17
18
19
20
21
22
23
24
25
26
27
28
29
30
31
32
33
34
35
36
37
38
39
40
41
42
43
44
45
46
47
48
49
50
51
52
53
54
55
56
57
58
59
60
61
62
63apiVersion: apps/v1
kind: Deployment
metadata:
name: deploy-gitlab
spec:
replicas: 1
selector:
matchLabels:
apps: gitlab
template:
metadata:
labels:
apps: gitlab
spec:
volumes:
- name: data
nfs:
server: 10.0.0.231
path: /yinzhengjie/data/nfs-server/case-demo/gitlab/data
- name: conf
nfs:
server: 10.0.0.231
path: /yinzhengjie/data/nfs-server/case-demo/gitlab/conf
- name: logs
nfs:
server: 10.0.0.231
path: /yinzhengjie/data/nfs-server/case-demo/gitlab/logs
containers:
- name: c1
image: harbor250.oldboyedu.com/oldboyedu-devops/gitlab-ce:17.5.2-ce.0
ports:
- containerPort: 22
name: ssh
- containerPort: 80
name: http
- containerPort: 443
name: https
volumeMounts:
- name: logs
mountPath: /var/log/gitlab
- name: data
mountPath: /var/opt/gitlab
- name: conf
mountPath: /etc/gitlab
---
apiVersion: v1
kind: Service
metadata:
name: svc-gitlab
spec:
type: LoadBalancer
selector:
apps: gitlab
ports:
- protocol: TCP
port: 80
name: http
- protocol: TCP
port: 443
name: https
- protocol: TCP
port: 22
name: sshd创建资源并验证
1
2
3
4
[root@master231 ~]# kubectl apply -f 01-deploy-svc-gitlab.yaml
[root@master231 ~]# kubectl get svc svc-gitlab
NAME TYPE CLUSTER-IP EXTERNAL-IP PORT(S) AGE
svc-gitlab LoadBalancer 10.200.237.106 10.0.0.153 80:41391/TCP,443:15760/TCP,22:39022/TCP 9m12s获取 GitLab 初始密码
1
2
3
[root@master231 ~]# POD_NAME=$(kubectl get pods -l apps=gitlab -o jsonpath='{.items[0].metadata.name}')
[root@master231 ~]# kubectl exec $POD_NAME -- cat /etc/gitlab/initial_root_password
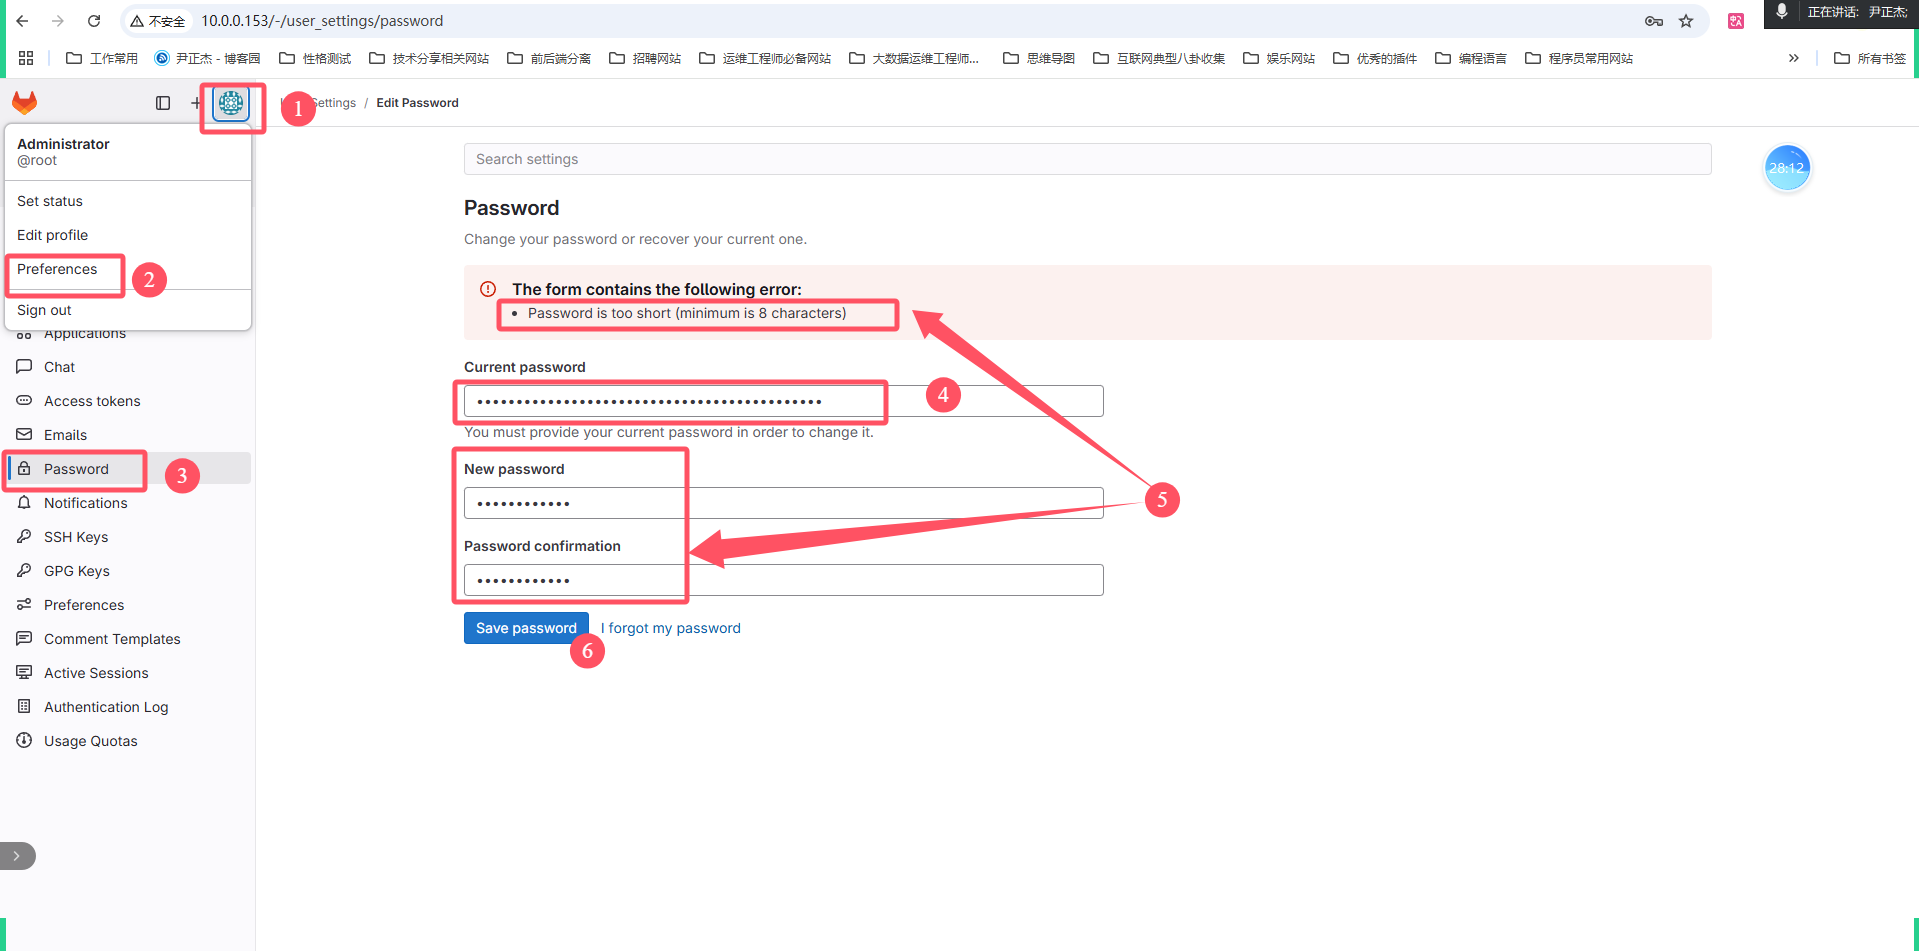
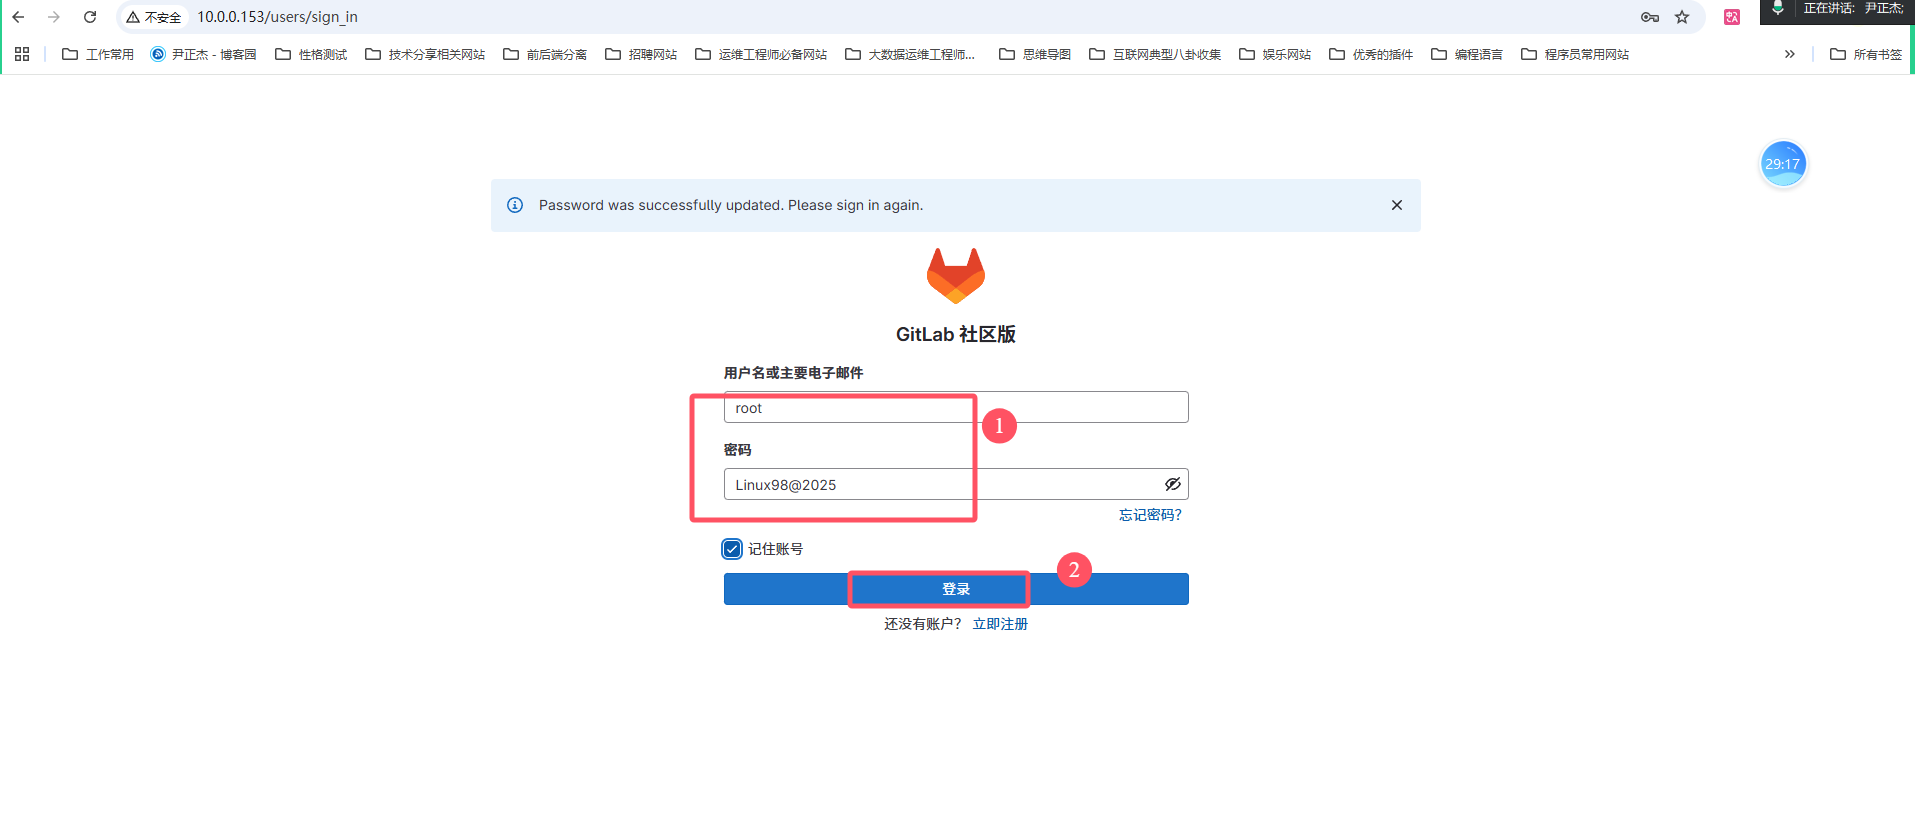
Password: a9/WZNn+4VHTjFa3pd6h2niEodrEYQUcepGNjWc7AEc=访问并修改密码
- 访问地址: http://10.0.0.153/
- 用户名: root
- 密码: 使用上一步获取的初始密码
- 修改密码: 登录后,按提示修改密码,推荐密码: Linux98@2025
[此处插入图片7: GitLab修改密码页面,红框标识了当前密码、新密码、确认密码输入框和 “Save password” 按钮,并有箭头指出密码太短的错误提示]
[此处插入图片8: GitLab登录页面,红框标识了用户名(root)、密码(Linux98@2025)输入框和 “登录” 按钮]
本博客所有文章除特别声明外,均采用 CC BY-NC-SA 4.0 许可协议。转载请注明来源 suxiao3316的ark小站!
相关推荐

2024-02-01
CICD之一:jenkins部署
一、部署 Jenkins 环境1. 准备环境 主机: 10.0.0.211 (jenkins211) 配置: 1 CPU, 2G 内存, 50G 磁盘 2. 安装 JDK 下载 JDK 安装包 1[root@jenkins211 ~]# wget http://192.168.21.253/Resources/Kubernetes/Project/DevOps/Jenkins/jdk-17_linux-x64_bin.tar.gz 解压软件包 1[root@jenkins211 ~]# tar xf jdk-17_linux-x64_bin.tar.gz -C /usr/local/ 配置环境变量 1234567[root@jenkins211 ~]# cat > /etc/profile.d/jdk.sh <<EOF#!/bin/bashexport JAVA_HOME=/usr/local/jdk-17.0.8export PATH=\$PATH:\$JAVA_HOME/binEOF[root@jenkins211 ~]# source /etc/pr...

2024-02-10
CICD之三:模拟开发推送代码
三、模拟开发流程 (推送代码到代码仓库)1. 将代码推送到 GitLab 准备代码和 Dockerfile 12345678910111213# 在一台有git工具的机器上操作[root@harbor250 ~]# wget http://192.168.21.253/Resources/Kubernetes/Project/DevOps/Jenkins/oldboyedu-yiliao.zip[root@harbor250 ~]# mkdir code && unzip oldboyedu-yiliao.zip -d code/[root@harbor250 ~]# cd code/# 编写Dockerfile[root@harbor250 code]# cat > Dockerfile <<EOFFROM harbor250.oldboyedu.com/oldboyedu-xiuxian/apps:v1MAINTAINER Jason YinLABEL school=oldboyedu class=linux98ADD . /usr/shar...

2024-02-15
CICD之五:Pipeline及Jenkinsfile
Jenkins Pipeline (流水线) 实战1. 基于 Pipeline Script 创建任务 创建 Pipeline 任务 新建任务 -> 输入名称 oldboyedu-linux98-yiliao-pipeline -> 选择 流水线 (Pipeline)。 [此处插入图片22: Jenkins新建任务页面,红框标识了 “流水线” 选项] 编写 Pipeline 脚本 在配置页面的 Pipeline 部分,将以下脚本直接粘贴到 Script 文本框中。 Generated groovy 1234567891011121314151617181920212223242526272829303132333435pipeline { agent any stages { stage('pull code') { steps { git credentialsId: '83da8426-9aa0-42be-b...

2024-02-13
CICD之四:CICD实战
Jenkins CI/CD 实践1. 自由风格任务:拉取代码 Jenkins 创建任务 Dashboard -> 新建任务 输入任务名称 oldboyedu-linux98-yiliao 选择 构建一个自由风格的软件项目 [此处插入图片16: Jenkins新建任务页面,数字标示了:1.输入任务名称 -> 2.选择自由风格项目 -> 3.点击确定] 配置源码管理 在任务配置页面,进入 源码管理 (Source Code Management) 选择 Git Repository URL: http://10.0.0.153/root/oldboyedu-yiliao.git Credentials: 点击 添加,输入 GitLab 的用户名 root 和密码,保存凭证。 保存配置。 [此处插入图片17: Jenkins任务配置-源码管理,数字标示了:1.源码管理Tab -> 2.选Git -> 3.添加凭证 -> 4.填写仓库URL -> 5.选择刚添加的凭证 -> 6.保存] 配置构建步骤 在 构建步骤 (Bui...
评论
